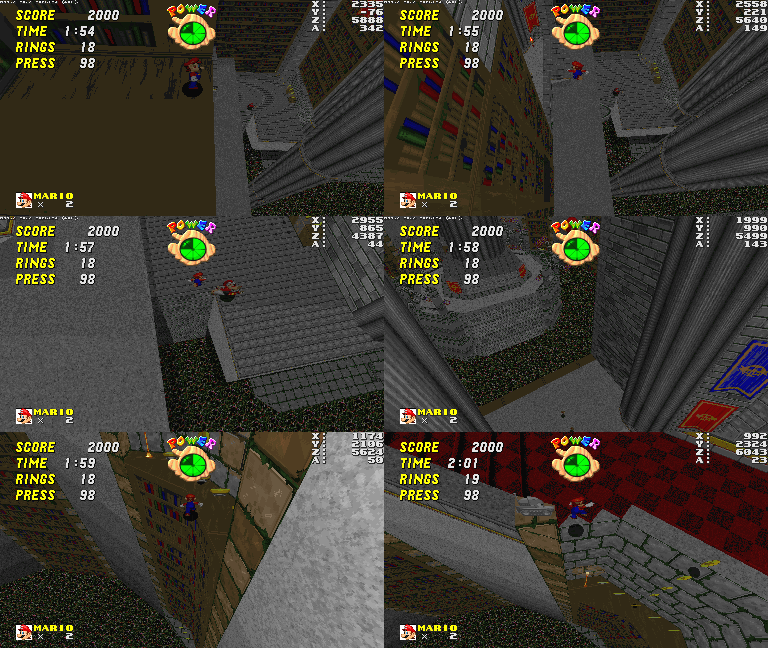
N64 Mario A Button Challenge for Sonic Robo Blast 2


Okay, I've done enough routing of this that I think I can post this now. What is this challenge? It's basically just play SRB2 using the "N64 Mario" addon while using the Spacebar (A button, because it Jumps) as little as possible. Insert pannenkoek2012 meme here, yadda yadda. I'm mainly just creating this thread to track the current progress in a dedicated thread so the information is completely centralized. But before I go any further here's the self imposed rules regarding this challenge, in terms of recording proof(s) and doing research.
Allowed addons/modifications:
- The N64 Mario addon itself. Obviously, we cant even do this challenge without the character himself.
- Custom Save SOC. Need this or else we cant create/save progress and also record replays to replay file.
- Speedometer. Useful for measuring speed and something I anticipate might be necessary for researching speed build up (was temporarily discussed for ACZ2).
- HUD Jump Counter. I actually wrote this one, this just adds an actual counter to the HUD.
- Replacing the SRB2 exe w/ the known FPS interpolation mod should be fine. I am not necessarily creating competing times here so use this one at your own discretion.
So, what have I done so far? Well, here's a table for the main act(s) and their respective counts (and replay URLs if available):
Scores for Act(s) in Isolation (no Emblems):
| Level (Main Campaign) | Current Count | Notes (Sources of A presses, challenges, etc) | TAS/RTA Proof URL |
| Greenflower Zone Act 1 | 0 | https://roborecords.org/finishedmp4s/5cm22lzr.hd2.mp4 | |
| Greenflower Zone Act 2 | 0 | When entering that big open area, need to go right and kick jump up 2 or 3 ledges to get to a plateau. You need to bounce off a monitor to enter a secret room and go backwards to be able to skip a room that is otherwise 1x. | https://roborecords.org/finishedmp4s/m43s0bjb.tzj.mp4 |
| Greenflower Zone Act 3 (Boss) | 0 | https://roborecords.org/finishedmp4s/jhttbldh.3nv.mp4 | |
| Techno Hill Zone Act 1 | 0 | https://roborecords.org/finishedmp4s/3buychgu.4yu.mp4 | |
| Techno Hill Zone Act 2 | 0 | https://roborecords.org/finishedmp4s/bo5abn0z.bpk.mp4 | |
| Techno Hill Zone Act 3 (Boss) | 0 | https://roborecords.org/finishedmp4s/10e5i01j.s24.mp4 | |
| Deep Sea Zone Act 1 | 0 | https://roborecords.org/finishedmp4s/zin3hm5t.t1l.mp4 | |
| Deep Sea Zone Act 2 | 0 | Use the faulty hitbox detection to break the breakable floor easy. Find a better setup for getting over a rising/falling set of spikes? | https://roborecords.org/finishedmp4s/yslmuem5.ven.mp4 |
| Deep Sea Zone Act 3 (Boss) | 0 | https://roborecords.org/finishedmp4s/sgkcy5kd.s5h.mp4 | |
| Castle Eggman Zone Act 1 | 2 | 2x for the bridge collapse. Use the hidden springs inside the tops of pillars to skip the spinners. Crawling into a spring also lets you air kick? | https://roborecords.org/finishedmp4s/ozmbghhu.yzv.mp4 |
| Castle Eggman Zone Act 2 | 2* | 2x from spinners in end room. Use extended spring jump to skip near-last room, red spring to skip a spinner. | https://roborecords.org/finishedmp4s/55lcet2p.puq.mp4 |
| Castle Eggman Zone Act 3 (Boss) | 0 | https://roborecords.org/finishedmp4s/uzmq4y0t.12w.mp4 | |
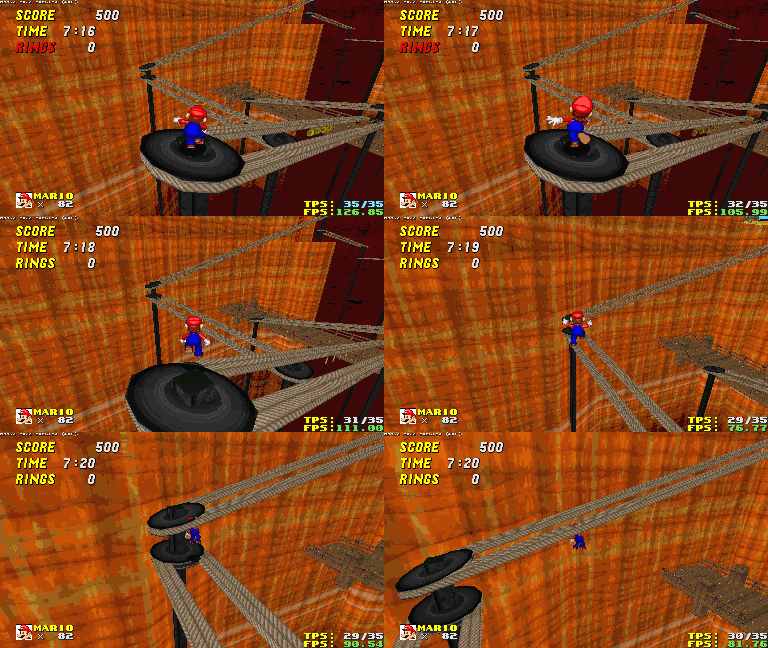
| Arid Canyon Zone Act 1 | 0 | Access the corner pole 0x with a very precise let go+air kick, then air kick over to the pulley. (seen in the GIF above) | https://roborecords.org/finishedmp4s/0kgpys3x.x5d.mp4 |
| Arid Canyon Zone Act 2 | 1 | Normally 3 presses are required in the minecart ride, but you can use the Minecart skip (costs 1x A press) to skip the last room. | https://roborecords.org/finishedmp4s/dde4gbe4.rm3.mp4 |
| Arid Canyon Zone Act 3 (Boss) | 0 | https://roborecords.org/finishedmp4s/fk4bjzcu.uc0.mp4 | |
| Red Volcano Zone | 0** | Use lava boosting to help with the A press from the ball ride. | https://roborecords.org/finishedmp4s/cy1n4fma.yt3.mp4 |
| Egg Rock Zone Act 1 | 0 | Recoil jumps (especially in the low gravity areas) are OP for this zone. | https://roborecords.org/finishedmp4s/ap4ma3ru.14a.mp4 |
| Egg Rock Zone Act 2 | 0 | https://roborecords.org/finishedmp4s/nxymcjpw.nvh.mp4 | |
| Black Core Zone Act 1 (Race) | 0 | Use a double lava boost in the lava room to mostly skip the whole room. You cant take any damage prior or else you wont have the health to do this. | https://roborecords.org/finishedmp4s/j42ai4lr.yvf.mp4 |
| Black Core Zone Act 2 (Boss) | 0*** | TAS proof of this is available. It has also been "verified" w/ a god cheat that it can be RTA'd. The problem is the strategy to hit Metal Sonic is extremely inconsistent and depends largely on his hovering favorability in proximity to the player. An extremely favorable run could be done RTA in the future. | |
| Black Core Zone Act 3 (Final Boss) | 0 | https://roborecords.org/finishedmp4s/vk252tl2.axd.mp4 |
* = An A press for this was found/routed very recently so the count should be 1, but I havent re-recorded the replay file yet to actually verify the full run yet.
** = Credit to Ruby (SuperLuigiFan63) for doing this replay. I had done a segmented verification of RVZ at 0x but I was unable to verify a full run RTA myself.
*** = Credit to Zenya for TASing this one. The punch combo seen in the TAS in order to hit Metal Sonic depends on a ton of RNG going your way, mainly his hovering distance and pattern and speed need to be favorable, and its difficult to do RTA consistently.
Scores for Bonus Act(s) in Isolation (no Emblems):
| Level (Bonus Levels) | Current Count | Notes (Sources of A presses, etc) | TAS/RTA Proof URL |
| Frozen Hillside Zone | 0 | https://roborecords.org/finishedmp4s/mzqs51g3.khu.mp4 | |
| Pipe Towers Zone | 0 | https://roborecords.org/finishedmp4s/bydohlf5.2rl.mp4 | |
| Forest Fortress Zone | 2 | 2x for those goshdarn spinners. Would be 4 otherwise, but use extended recoil jump to skip one, and a spring to skip another. | https://roborecords.org/finishedmp4s/im3lioj2.dqy.mp4 |
| Techno Legacy Zone | 0 | https://roborecords.org/finishedmp4s/ql2533uv.yzs.mp4 | |
| Haunted Heights Zone | 0 | https://roborecords.org/finishedmp4s/g35qyuq3.l1x.mp4 | |
| Aerial Garden Zone | 2 | 2x for certain jumps out of the water past ledges. Normally extended recoil jumps get past these, but the blocks are too long and there isnt enough clearence. | TODO* |
| Azure Temple Zone | 0 | TODO** |
* = I just havent had a chance to thoroughly route this one. The sheer size of AGZ is putting me off until I finish routing Emblems more.
** = Same as above. ATZ has some quite tricky 0x maneuvers to do consistently, but this seems more doable than AGZ, just need to put the time in to record a full run. Both of these are segmented verified at their listed scores, I just dont have full replays yet.
Here's the tech list that is used and their respective descriptions:
| Known 0x Techniques | Description |
| Kick Jump | If you do a triple punch (yah wah hoo), the 3rd combo does a kick which gives you a tiny bit of height. In absence of a ledge, this is the best you have. |
| Ledge Jump | Primary way of gaining height in most of the acts. Run off a ledge to enter free fall, then press Custom 1 to do an air kick. By using this, you can basically do a semi-jump from any ledge 0x. |
| 0x Ground Pound | Normally to do a ground pound you need to be in a jump state which necessitates 1x use to jump. Air kick state does not permit ground pounding, so you cant use a ledge jump to initiate a ground pound. You can however crouch slide in such a way that you press crouch, then let go briefly right as you are sliding off a ledge. This puts you into an air state where you can initiate a ground pound 0x. This trick was used to save the A press in THZ2 where the switch in the toxic pool needs to be ground pounded. |
| Extended Spring Jump | Combine this with a 0x Ground Pound; if you ground pound onto a spring, you gain almost double the vertical height from using a spring. Couple this with a red spring (red springs give you more jump) and you can gain a tremendous amount of height. |
| Recoil Jump | If you do a kick jump into a wall, when you kick the wall, Mario will bounce back from the wall with some height. The important part of this is that your speed was direction reversed. |
| Extended Recoil Jump | Using the Shift key, by tapping Shift repeatedly, you can do an Odyssey roll. This is an insane amount of speed with 0x access, but combine this with cancelling the roll into a recoil jump (just by pressing Custom 1) and you can turn the Recoil Jump into an Extended Recoil Jump. This Roll + Recoil will give your knockback increased height. |
| Delayed Kick Jump | Delay the inputs between the triple punch-punch-kick combo. By doing this, you can redirect or change direction mid combo if you need more precision for the kick jump. This tech is VITAL for attempting a 0x run of Black Core Zone 2, as discussed. |
| Lava Boosting | This is also a strategy in the official Super Mario 64 ABC. Touch lava (or any fire source) and Mario will get "burned" and bounce high up due to the fire damage. Useful for Red Volcano Zone. |
Speaking of that, the last thing this topic is currently missing is the Emblem List. Needless to say I am working on that, and tables will be posted here as I verify if each emblem can be obtained and w/ how many presses it takes in isolation. Collecting the maximum number of emblems that N64 Mario can collect is going to take a lot more presses.
The Current A Presses:
- A press used during the bridge collapse in CEZ1.
- Another press used during the bridge collapse in CEZ1.
- Used to launch from the first spinner in the final room in CEZ2. (This one has a route/solution and is awaiting a replay re-record)
- Used to launch from the second spinner in the final room in CEZ2.
- Used for the Minecart Skip in ACZ2.
- Used for a spinner in FFZ.
- Used for another spinner in FFZ.
- Used to leap past one of the "water ledge" rooms where an extended recoil does not permit ascending past this room.
- Used once again to exit one of these water ledge rooms.
Last edited:
