Level Select Icons are something taken for granted by a lot of map creators. They are surprisingly hard to create too, since outside of screenshotting your work in ZB there's not really a way to get a blank screenshot for the purposes of an Icon. This tutorial will provide you with my easy to follow, fool-proof method on taking screenshots for Level Select pics and then editing them for use within the game itself. After we're done, you too will be a master of the LSI as well!
Step 1: Load the Level
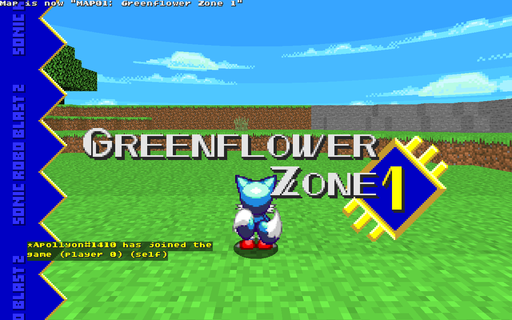
Obviously! You can do this with any character you'd like.
Step 2: Disable Crosshair in Settings
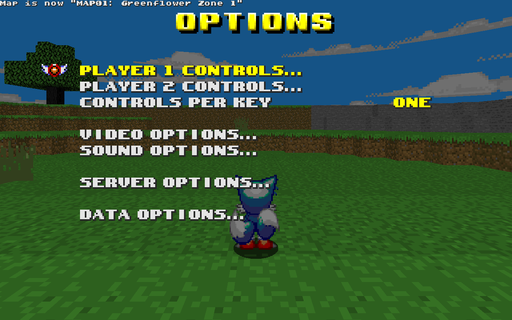
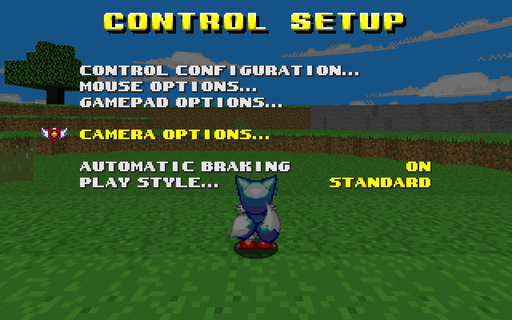
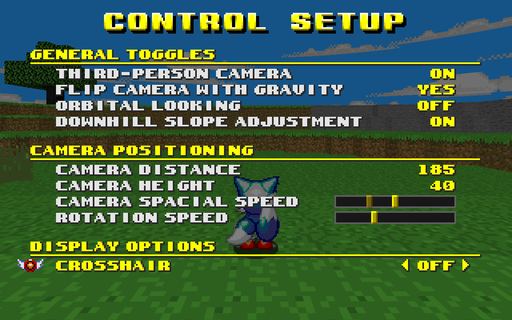
We obviously don't want to have a crosshair in our screenshots, so let's fix that by going into the settings menu, and from there, Player 1 Controls... -> Camera Options... -> Crosshair. Set that last option to OFF.
Step 3: Activate Objectplace
From here, you want to press the tilde key (~) to bring up the console. Then, enter the following commands:
This puts you in objectplace mode and not only lets you fly around the stage freely but also freezes everything else. Quite convenient for screenshots, no?
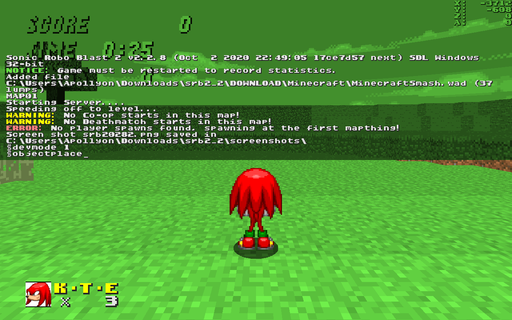
Step 4: Remove the Clutter
Now that we have the crosshair disabled, it's time to get rid of everything else! First, press the F3 key on your keyboard to hide the in-game HUD (don't worry, you can bring it back later) then press the V key to toggle first person mode.
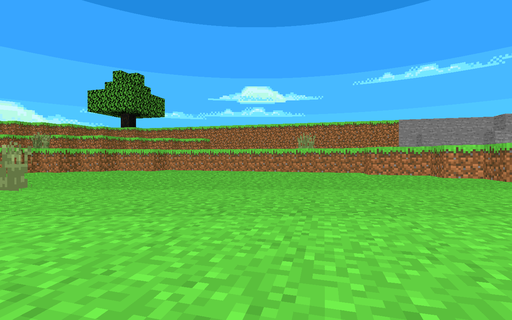
Step 5: Screenshot Time
Now that we're all set, just move around until you have an optimal angle and position for your icon, and press the F8 key to take a screenshot!
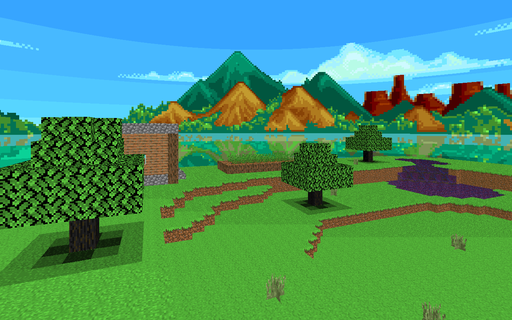
Step 6: The Editing Process
At this point you'll wanna open up your screenshot in your preferred image editing software. Mine is GIMP, though you should theoretically be able to do this in any program that lets you resize images.
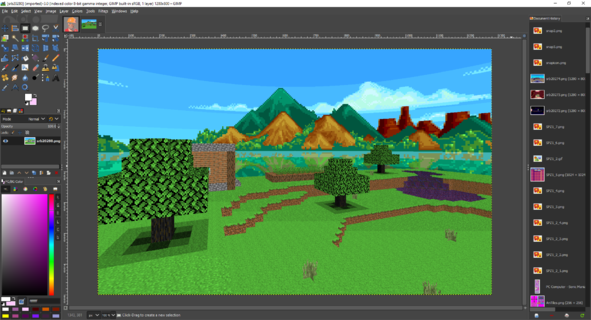
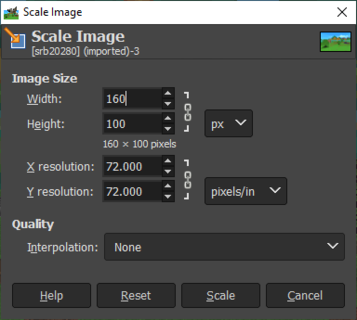
Find whatever tool you use to rescale/resize images, and change its dimensions to 160x100 pixels.
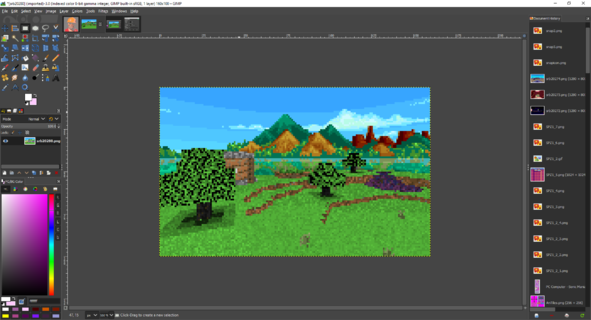
As we can see, our image is small now!
Step 6: Export the Image
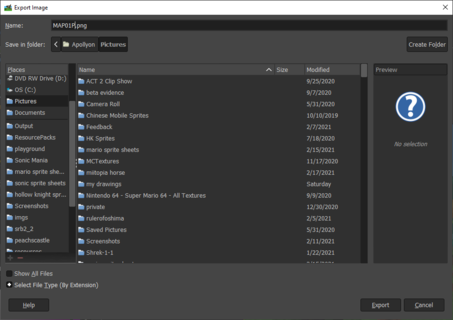
Now, export the image as a png with the name MAPXXP (With XX being the mapnumber you want this to be your level select icon for) and save it somewhere where you can find it later.
Step 8: Import into SLADE
The semi-final step in our long and arduous journey is to import the image into SLADE (which you should partially know how to use already if you have a level to make an icon for in the first place!) however where exactly you import it can depend on what type of file your addon is.
If it's a WAD, then it should be near the top of the file list, outside of any image lumps like Sprites or Textures.

If it's a PK3, then it can go in its own folder, preferably named something like "LevelSelect" or similar.

Of course, don't forget to convert it to Doom Gfx format.

Step 9: Test
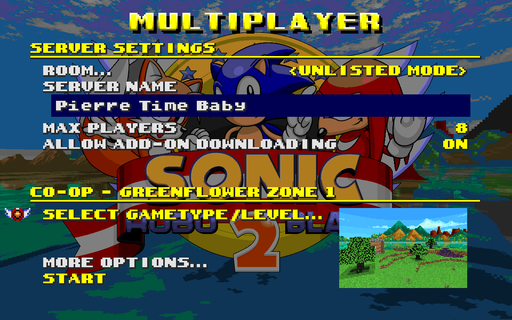
If you followed all the prior steps correctly, then when you test the addon again in-game, you should see your level select icon!
Other Tips
- In terms of what to make your level select icon, pick a scene or area that you feel best exemplifies your level's qualities and features. Something that'll jog your memory and go "Oh yeah, this is that level with the thing in it!" Here's an example using THZ act 1:
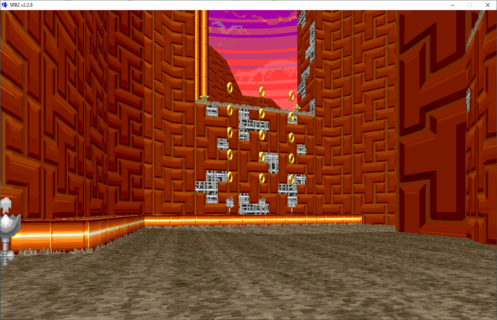
This is a bad screenshot because most of it is taken up by the THZWALL textures and the steam gimmick will barely register when the image is resized.
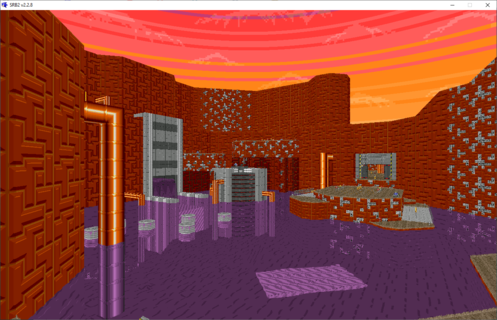
This is a good screenshot because it shows a lot of visual variety and properly showcases one of the level's primary gimmicks (Shitty purple jello).
- If such an option exists, choose to resize your image with cubic interpolation instead of none. This results in much less jagged edges in your image and looks closer to the official SRB2 level select icons. Some detail may be lost though, so pick and choose when to use it and when not. (Left is Interpolation set to None, right is Cubic)

- If you want to make wide level select icons then resize the image to be 564 pixels wide instead of 160, then crop it vertically so that it's 100 pixels tall. Export the image with the name MAPXXY.png instead of MAPXXP.png.
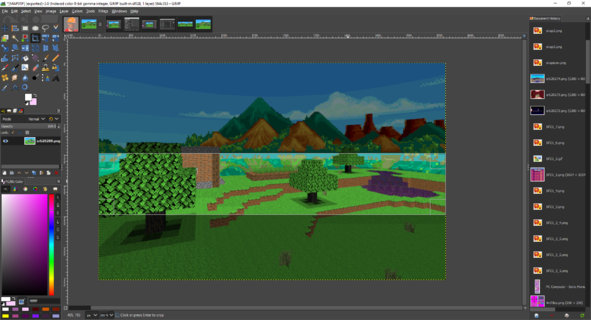
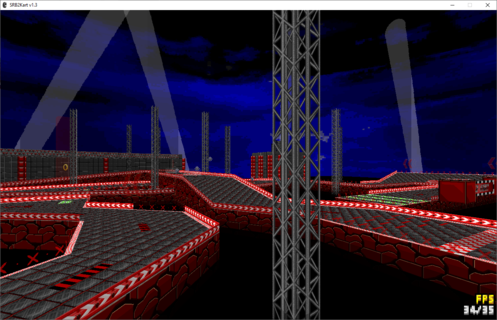
- This exact process works for Kart as well! It's actually even easier there, because you can simply start a private netgame on your map, enter spectate mode, press F3 to hide the hud, and then you're ready to take your picture.
Step 1: Load the Level
Obviously! You can do this with any character you'd like.

Step 2: Disable Crosshair in Settings
We obviously don't want to have a crosshair in our screenshots, so let's fix that by going into the settings menu, and from there, Player 1 Controls... -> Camera Options... -> Crosshair. Set that last option to OFF.


Step 3: Activate Objectplace
From here, you want to press the tilde key (~) to bring up the console. Then, enter the following commands:
Code:
devmode 1

objectplace
This puts you in objectplace mode and not only lets you fly around the stage freely but also freezes everything else. Quite convenient for screenshots, no?

Step 4: Remove the Clutter
Now that we have the crosshair disabled, it's time to get rid of everything else! First, press the F3 key on your keyboard to hide the in-game HUD (don't worry, you can bring it back later) then press the V key to toggle first person mode.

Step 5: Screenshot Time
Now that we're all set, just move around until you have an optimal angle and position for your icon, and press the F8 key to take a screenshot!

Step 6: The Editing Process
At this point you'll wanna open up your screenshot in your preferred image editing software. Mine is GIMP, though you should theoretically be able to do this in any program that lets you resize images.

Find whatever tool you use to rescale/resize images, and change its dimensions to 160x100 pixels.

As we can see, our image is small now!

Step 6: Export the Image
Now, export the image as a png with the name MAPXXP (With XX being the mapnumber you want this to be your level select icon for) and save it somewhere where you can find it later.

Step 8: Import into SLADE
The semi-final step in our long and arduous journey is to import the image into SLADE (which you should partially know how to use already if you have a level to make an icon for in the first place!) however where exactly you import it can depend on what type of file your addon is.
If it's a WAD, then it should be near the top of the file list, outside of any image lumps like Sprites or Textures.
If it's a PK3, then it can go in its own folder, preferably named something like "LevelSelect" or similar.
Of course, don't forget to convert it to Doom Gfx format.
Step 9: Test
If you followed all the prior steps correctly, then when you test the addon again in-game, you should see your level select icon!

Other Tips
- In terms of what to make your level select icon, pick a scene or area that you feel best exemplifies your level's qualities and features. Something that'll jog your memory and go "Oh yeah, this is that level with the thing in it!" Here's an example using THZ act 1:

This is a bad screenshot because most of it is taken up by the THZWALL textures and the steam gimmick will barely register when the image is resized.

This is a good screenshot because it shows a lot of visual variety and properly showcases one of the level's primary gimmicks (Shitty purple jello).
- If such an option exists, choose to resize your image with cubic interpolation instead of none. This results in much less jagged edges in your image and looks closer to the official SRB2 level select icons. Some detail may be lost though, so pick and choose when to use it and when not. (Left is Interpolation set to None, right is Cubic)
- If you want to make wide level select icons then resize the image to be 564 pixels wide instead of 160, then crop it vertically so that it's 100 pixels tall. Export the image with the name MAPXXY.png instead of MAPXXP.png.

- This exact process works for Kart as well! It's actually even easier there, because you can simply start a private netgame on your map, enter spectate mode, press F3 to hide the hud, and then you're ready to take your picture.


